The LED Tape Blueprint allows you to turn any mesh into a pixel mappable LED tape.
Using the LED Tape Blueprint with a custom mesh
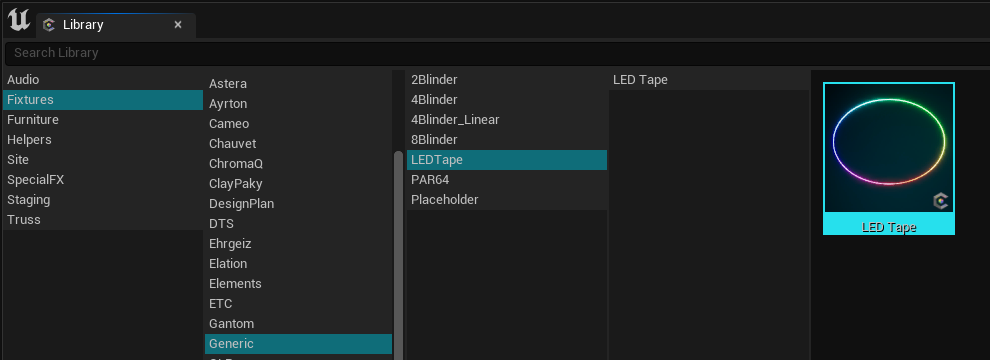
1. Insert LED Tape into level.
The LED Tape Blueprint can be found in the library panel under “Generic”.
2. In the details panel, replace the default mesh with your own custom mesh.
Either make a mesh in an external modelling tool like Maya or Blender, or you can use Unreal’s built in modelling tools to make your own mesh.
Note: Mesh must have UVs spread between 0 and 1 across the X-axis.
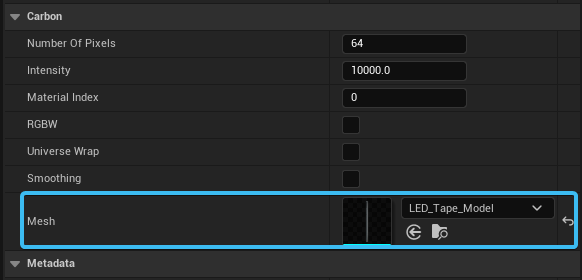
3. Adjust settings in details panel.
Under the Carbon section, there are many settings that you can customize.
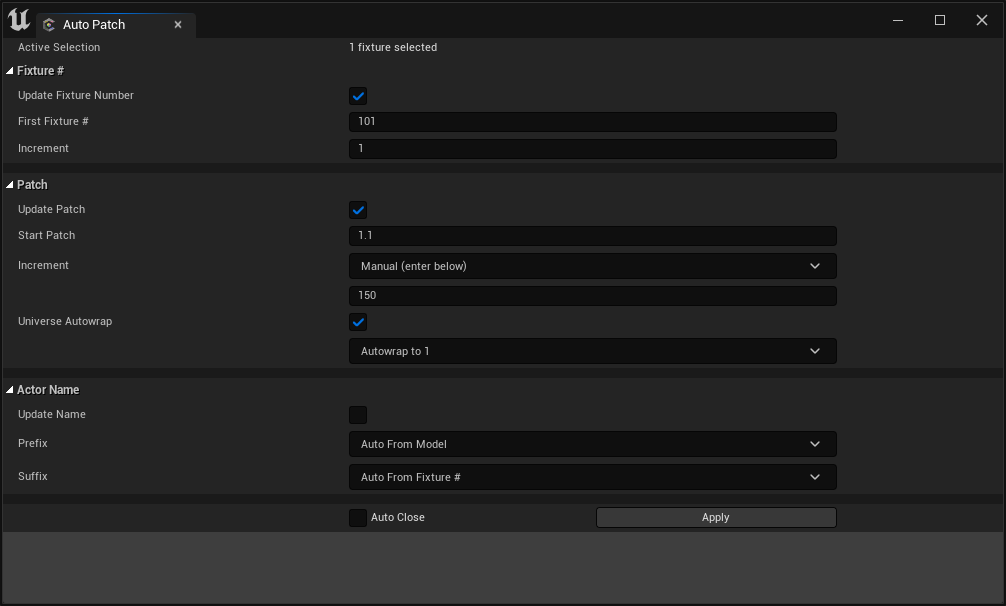
4. Patch LED Tape like any other Carbon fixture.
Either manually patch in details panel, or use the Auto Patch tool.
Note: When using Auto Patch tool, you must set the increments manually. (3ch per pixel for RGB, 4ch per pixel for RGBW)