Once you have installed the Unreal Engine on your computer, you are ready to create your first project. If you need help with installing Unreal Engine, please view the guide here,
Launch the Unreal Engine
Using the Library Tab of your Epic Games Launcher, you can launch any of your currently installed versions of the Unreal Engine. To create a new project, start by launching your newly installed version of Unreal with the “Launch” button provided.
Name and Create a Project from the Launcher
After a short loading period, you will be presented with an Unreal Project Browser/Creator. Here you have access to a series of starter templates, archetypes, or coding packages to get a running start. For a first-time project, select the “Blank” template from the “Games” category. This will generate an empty project with no unnecessary code added. Project Defaults can remain at a default, however, include Starter Content and Raytracing to enable the best visuals and some simple starter assets to build with.
IMPORTANT – For the project location and Path, it is not advised to host the project in any locations that are actively synce’d by Dropbox, Google Drive, Box, Etc. This can cause issues with file corruption. Use of Source control such as Plastic or Perforce are recommended for groups and those using more than one computer.
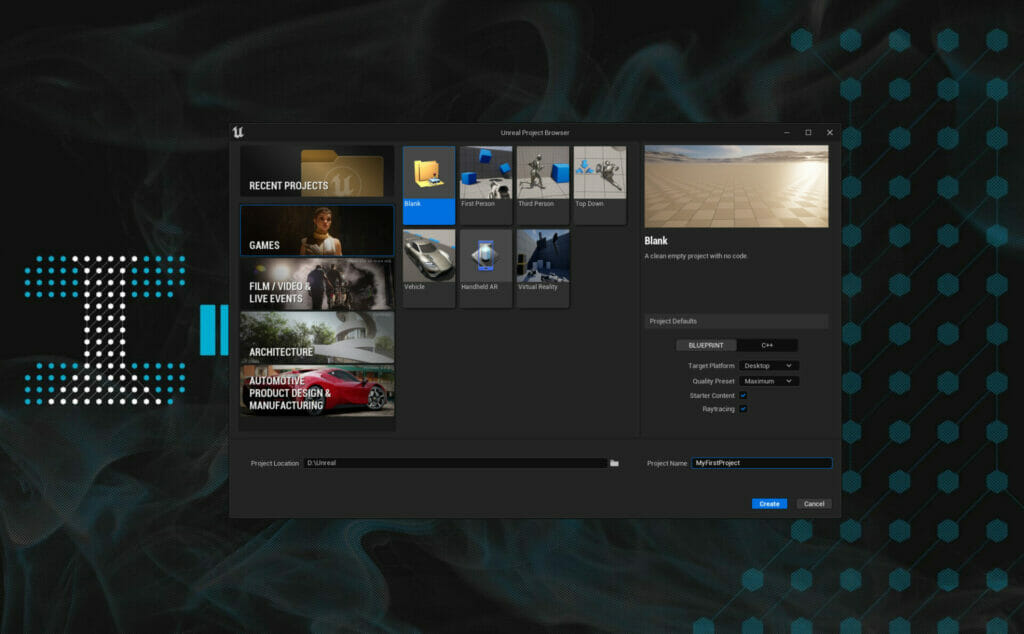
After setting the defaults, name and save the project to your preferred folder location and hit “Create”.
Wait for the Project and Shaders to Compile
After naming and creating the project, Unreal will launch and begin loading the engine for use. This process takes a little time depending on the speed of your computer. Compiling shaders on your first startup takes a while; you will be automatically entered into the project process is complete. (This process will be faster on subsequent project openings)

Entering your First Project
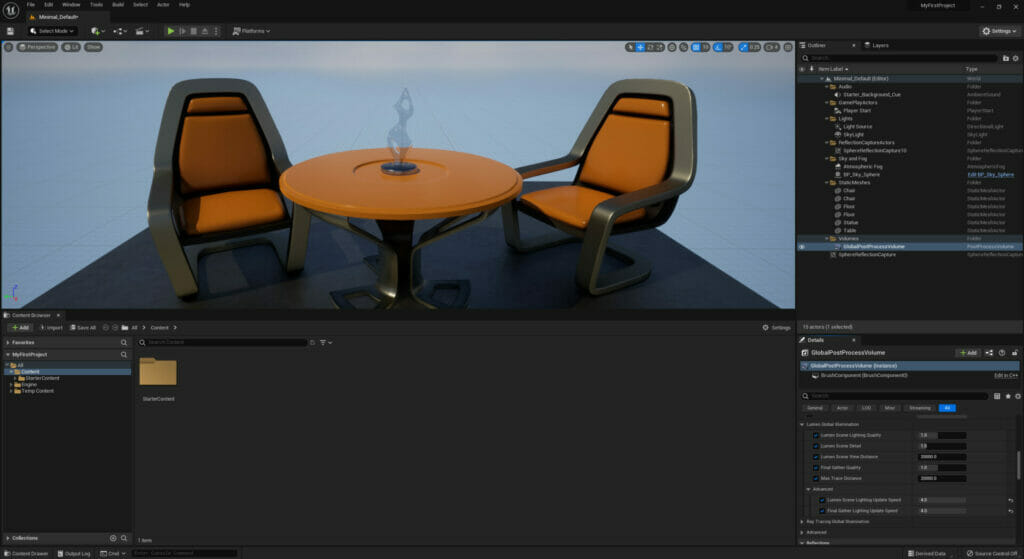
Once compiled, the project will open to a default map. You now have access to an unreal project to personalize, build, or test from. It may show a Plugins window which show which plugins are loaded and which are available to be loaded. It is not necessary to load any additional plugins unless you have specific needs.
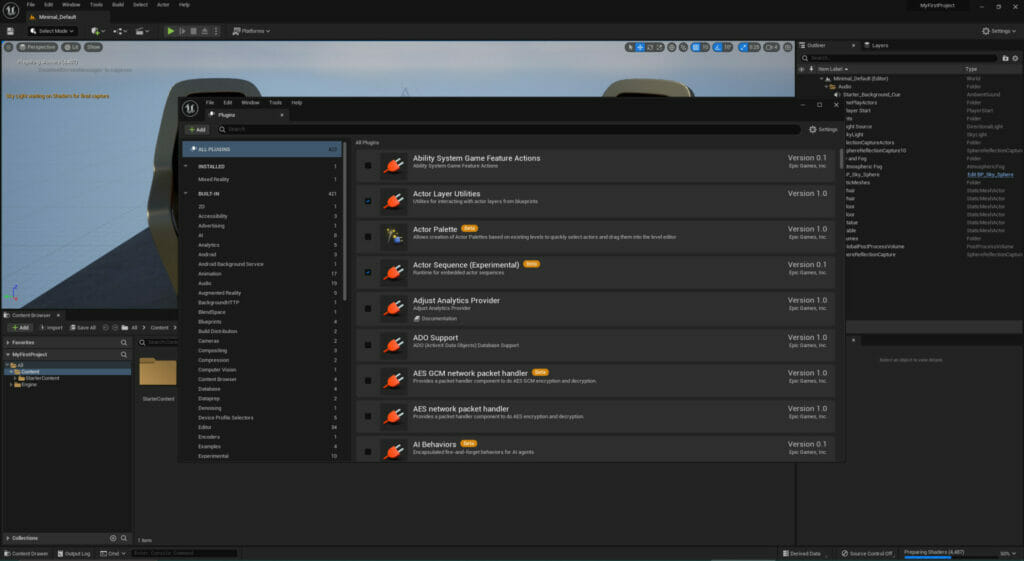
You can close this window and begin working on your first project.
To install the Carbon for Unreal plugin to your project, follow this additional guide located here.